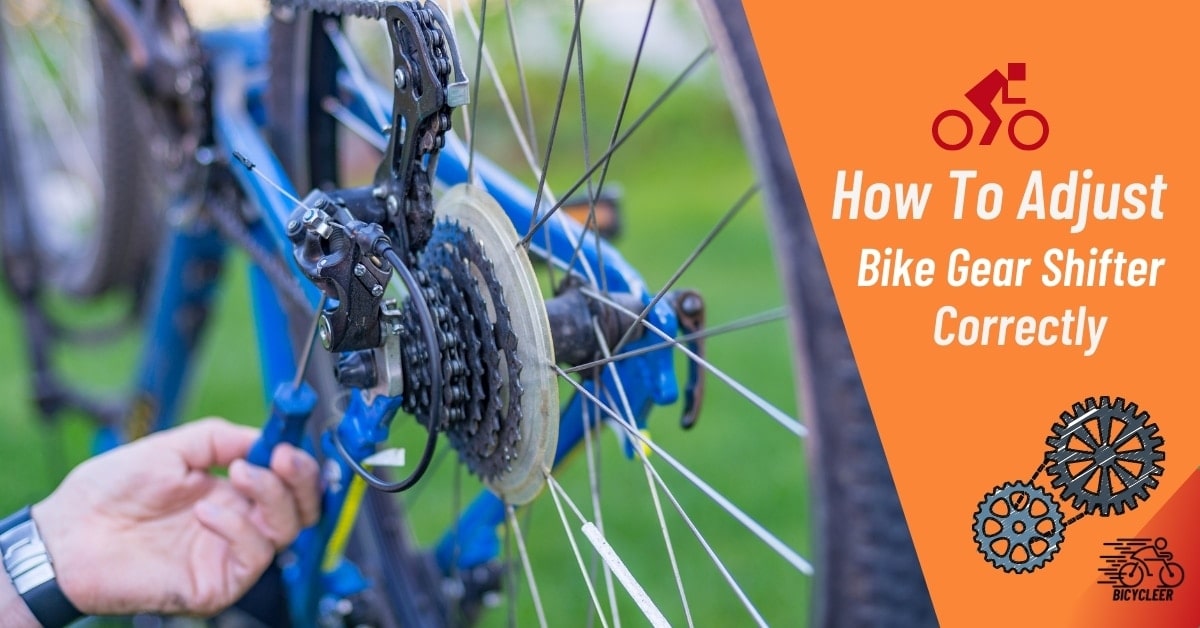
How To Adjust Bike Gear Shifter Properly- 5 Easy Steps
Over time our precious gear bikes can stop performing like they once used. As much as we hate to admit it, but this only happens when we forget to take enough care of our ride. Luckily, the shifting problem on gears is one that isn’t permanent and can be fixed quite easily.
But to be able to effortlessly do so, you must first learn how to adjust bike gear shifter. Remember that the entire adjustment can be a little intimidating at first, but we’re here to walk you through all of it.
By the end of this article, you will end up with less worry than you started with. Not to mention the smooth-shifting gears!
How to Adjust Bicycle Gears – Step By Step
- Step 1: Do Your Homework
- Step 2: Jack up the Bike
- Step 3: Adjust the Front Derailleur
- Step 4: Adjust the Rear Derailleur
- Step 5: Go for a Trial Run
Bringing a crooked gear back into calibration is a very simple process. Anyone with the right of knowledge and tools can pull it off. So, today we are going to show you how to adjust your front and rear derailleurs so that you can make the necessary changes without difficulty. Here are the steps you need to follow –
Step 1: Do Your Homework

- Before jumping into the adjusting and tampering, do your fair share of research on the process.
- Find out what is the right way to approach your particular bike. Watch a few video tutorials to better understand whether you can do it by yourself or not.
- Lastly, prepare yourself to materialize the knowledge you gained.
- We do not mean to undermine or discourage you, but it’s quite normal if you find that this entire process too tricky. Under such circumstances, we recommend getting expert help. This will not only help you avoid mistakes but will give you a good first-hand lesson for the future.
Step 2: Jack up the Bike

- Take a small jack and put it underneath your bike.
- Make sure that the jack is on a flat surface and right underneath the bike.
- Rotate the jacking screw in a clockwise direction to gain height.
- If no jacks are available, then simply turn the bike upside down so that the frame remains standing on its handle and seat.
- If the latter method is applied, then remember that all the rotational directions in our instruction will be reversed.
Step 3: Adjust the Front Derailleur
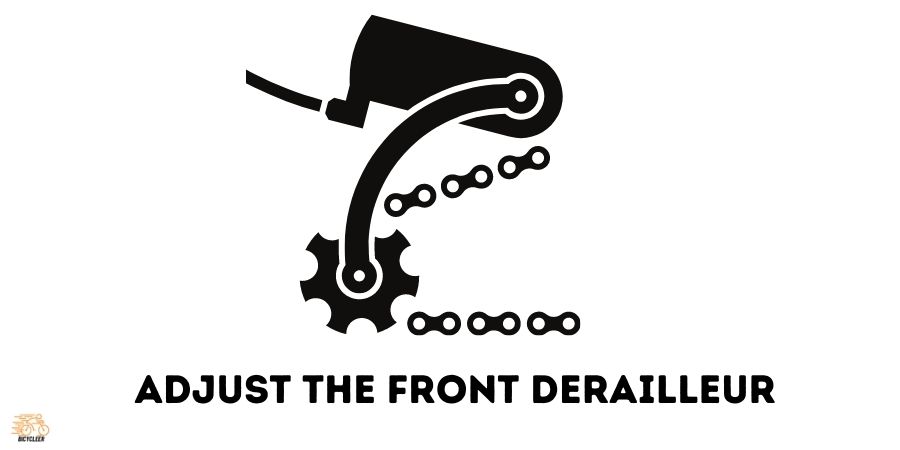
- Adjusting the front derailleur is not tricky if you pay enough attention to it.
- Put the gear to the lowest and turn the pedals. The gear should jump to the smallest cog.
- Screw the barrel adjuster in (clock-wise rotation).
- Make sure that there is at least a 3 mm gap between the derailleur and the largest cog. If not, then make necessary adjustments.
- Locate the outer adjustment and calibrate it in such a way that when you pull the front derailleur, the chain will jump to the largest ring.
- The adjustment should lead your chain to be in the middle of the plates.
- Similarly, test the other transitions as well.
- Repeat the entire process from the beginning to adjust both the chain and derailleur. Now, you should have yourself a perfectly calibrated front derailleur.
Step 4: Adjust the Rear Derailleur
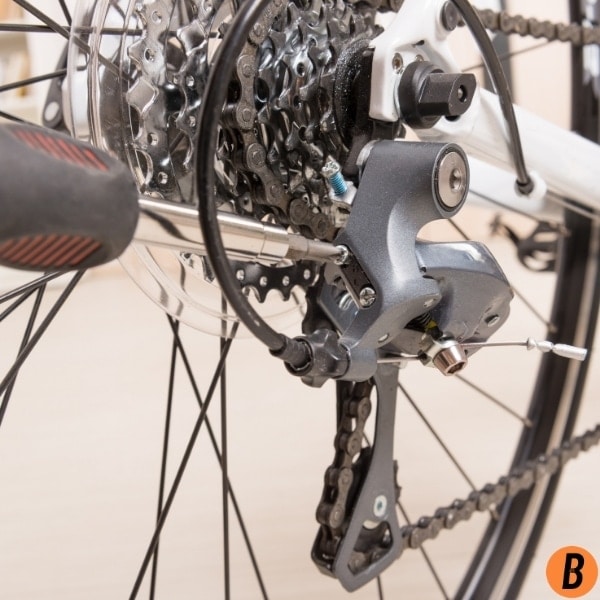
- Take the lever to the topmost gear. You will notice that the chain has slid onto the smallest wheel on the cassette.
- Locate the cable securing bolts in front of the spokes and unwind them.
- Now you will have to carefully push the derailleur in the direction of the rear wheel.
- Rotate the adjuster screw to adjust cable tension. Once that is done, you will see that the gear shift is starting to show more fluidity.
- If the derailleur is not adjusted properly, then the chain will start to miss out on one or more chains during the shift. If you come across this issue, then readjust the screw to find the sweet spot.
- Once you find the right adjustment, make sure that all the bolts are connected safely.
Step 5: Go for a Trial Run

- By this point, you should have made all the adjustments that you were looking for. The gears should also be shifting smoothly during the free-tire rotations. However, the case can be a little different when you ride it.
- This is why we recommend going for a test run around the block to see whether the performance is as it is or not. If you find zero negative changes whatsoever, then you’re good to go!
Watch Video: 5 Minute Gear Adjust
Tips

Here are some tips for you so that you too can make the most out of your bike reads. Try keeping these in mind for a more enjoyable experience:
- Use the left shifter when you want to change the front-side gears.
- Experiment and play around with shifting to find the sweet spot for yourself.
- If you feel little to no resistance in pedaling, then simply gear up, and your ride will move faster.
- If you’re feeling too much resistance, then that’s because you’re starting at a gear too high.
- Never pedal backward. It will ruin both your adjustments and gear health.
Warnings
There are a couple of things that can go wrong in the entire task. Here are a few warnings that you need to pay attention to for the safety of both your bike and yourself;

- Wear a protective glove to avoid any scratches or cuts on the hand.
- Do not wear gloves made out of thick material when handling the screws.
- Your hands will get greasy and oily so prepare yourself for that.
- Do not breathe in the dust that comes off of the tires during free-rotation
- If you’re not using a jack to jack up the bike, then make sure that you are taking enough safety precautions to maintain the balance.
- Wash your hands with soap and sanitary products every time after making any sort of bike adjustments.
What You Need

The right set of tools can make a big difference in the end result. Your efforts are less likely to go in vain if you manage to pair the right tools with the right set of knowledge.
- A hex-head screwdriver
- Flat surface
- Metal clamp/ropes (in case of missing jack)
- Safety gloves
- Bicycle grease
- Hoist jack
- Air-pen/blower
- Firm hands and self-confidence
Also read Best Mountain Bikes under $300
You Know Enough
How? Now you can easily relate how to fix bike gears that won’t shift. As we discuss both front and rear derailleur you can try to rear derailleur won’t shift to the lowest gear.
Knowing how to change gears on a bike is not enough, try to follow the 5 steps and do the same. You may have questions about how to adjust a derailleur on a mountain bike or road bike, but trust me these steps are applicable for every other bike as well.
Get Smooth Transitioning Gears in No Time
If you’ve stayed with us this long, then congratulations! Because now you know how to adjust bike gear shifters without having to put in a lot of effort. Say goodbye to the days of confusion, and feel free to reach out to this tutorial every time your gears start to misbehave. Happy cycling!
Frequently Asked Questions on Bike Gear Shifter
How do I make my bike gears shift smoothly?
You can do it by pedaling lightly during shifts. Regular maintenance of gears also goes a long way in smooth shifts. If you’re still facing problems, then your gears probably need some adjustment.
Why is my bike not changing gears?
This can happen for a lot of reasons. The most common reason is the cable stretch. To fix this issue, you must add tension to the existing cables. This can be done by adjusting the rear derailleur.
Do I need inline cable adjusters?
Yes, inline cable adjusters can be small, but they are real life-savers. These adjusters play a role in pushing the cable housing in and out. So they can be very handy to dial the cable tension. In other words, every biker needs them for precise adjustments.
How to use bike gears?
The right side shifter controls the rear gears, whereas the left side controls the front gears. Always avoid crossing the chain by using the extreme ends of the front and rear gears. Practice shifting whenever you get the chance and avoid shifting too quickly.
How do you adjust a Shimano shifter?
You can adjust both the shifting and reach of the Shimano shifter by pulling back the hood and taking off the cover. Then put in a 2 mm hex-head in the latch below and rotate clockwise to increase and anti-clockwise to decrease the indent.